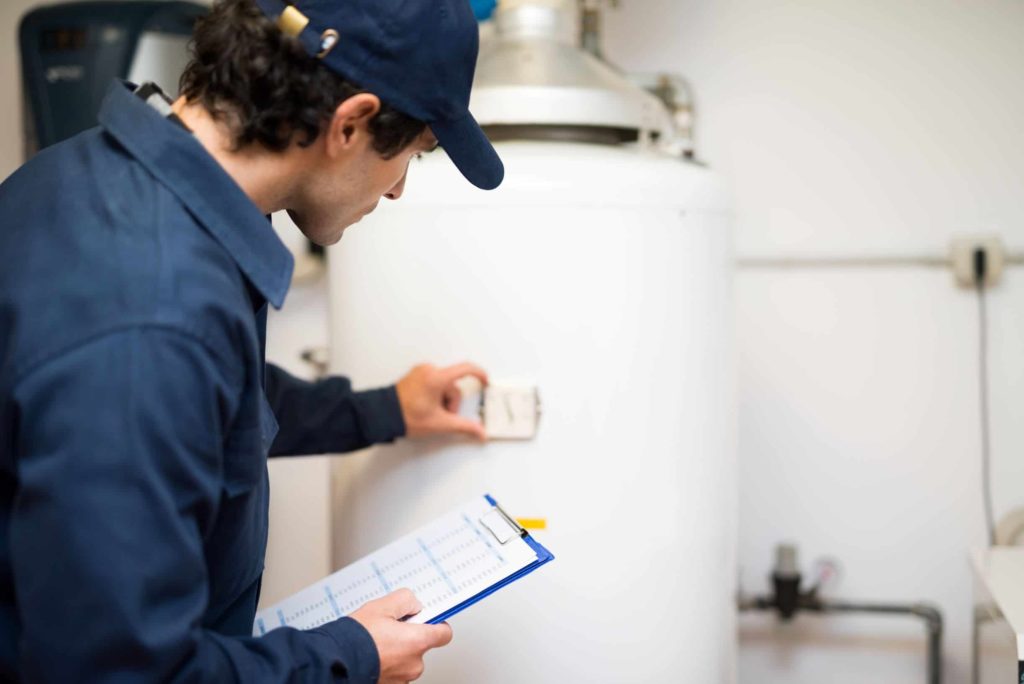
Regular water heater maintenance is the key to extending the life of your unit. Simply checking your unit every 6 months can make a huge difference in the long run, helping prevent costly breakdowns and extending its lifespan. If you have a more modern and high-tech system, such as a solar unit or tankless water heater, then it’s important to schedule regular tune-ups with a professional who has been trained to inspect such systems. If you you have a traditional water heater with a tank, then there a number of steps you can take yourself to maintain your unit.
Assess the Situation
Before you turn to your water heater, there are areas in your home you can asses that can signal there is a problem or issue with your unit. Your showers, tub, and faucets are the first place you should look. If you the have noticed that the water from these devices has grown colder and takes longer to heat up than it normally does, then there is most likely an issue with your water heater. Specifically, these issues signal that there may be issues with the thermostat or your furnace’s heating element.
Another area you can asses is the unit itself. Check to see if there are any leaks or dripping water coming from the unit. If you can see a visible puddle, or any rusting cracks, then it’s imperative you call a plumber to repair the unit before it’s too late! Contact us today, and keep reading to learn more on what you can do to prevent costly breakdowns.
3 Steps to Maintaining Your Water Heater
- CHECK: On your water heater, there is a pressure valve that is responsible for relieving your tank of any excess pressure. Check this pressure valve by opening it manually and confirming that it can smoothly open and close. While doing this, you can ensure that the drain outlet is working properly by seeing if hot water sprays out. If not, then there is an issue.
- FLUSH: Flushing your water heater’s tank does take longer than the previous step, but can make a huge difference. First, start by turning off the circuit breaker for your water heater and turning off the cold water. Next, use a hose to attach to the drain outlet and run the hose outside or away from your home. Finally, open the pressure valve and drain outlet at the same time, which will quickly empty the tank and remove any sediment that has built up over time.
Close the pressure valve and drain outlet after the tank has completely emptied. After this, turn on every hot water faucet in your home, which should run dry due to the empty water tank. After this, go and turn on the cold water back on to fill your tank. Once water begins flowing through the faucets throughout your home, turn the circuit breaker for your hot water heater back on, which will clean the tank. If you are unsure about performing this step on your own, contact a professional! - REPLACE: Inside your water heater’s tank, there is a metal rod, called the anode rod, that is responsible for attracting any corrosive particles or elements that can damage or rust your tank. This process causes the rod to rust itself, and can even rust away. If it rusts away, it can damage your tank and perpetuate rust. Check this rod often and make sure you replace it as needed. This can greatly affect the life of your water heater.